Oct 05,2026
Sea, Is Féidir Leat Tairní a Phéinteáil Le Scuab Aer - Seo é an Freagra Gearr
Is féidir airbrush a úsáid go hiomlán chun tairní a phéinteáil , agus tá sé ar cheann de na teicnící is mó fáis in ealaín ingne gairmiúla agus sa bhaile inniu. Trí úsáid a bhaint as gunna spraeála míncheo atá ceangailte le comhbhrúiteoir, cuireann teicneoirí sraitheanna tanaí, fiú lí go díreach ar dhromchla an ingne, ag cruthú grádáin mhíne, scáthú agus patrúin casta atá deacair a bhaint amach le scuab amháin.
Murab ionann agus ealaín ingne traidisiúnta lámhphéinteáilte, Airbrush ingne Art ag brath ar shruth rialaithe de dhath adamhach seachas strócanna díreacha scuab. Ciallaíonn sé seo go socraíonn an dath níos cothroime, triomaíonn sé níos tapúla, agus ligeann sé do chumasc bog idir shades - an cineál éifeacht ombré gan uaim a tháinig chun bheith ina cuma sínithe i salons nua-aimseartha.
An leagan gearr: má tá trealamh aeir-scuabtha sainiúil agat, péint ingne aeir-scuabtha comhoiriúnach, agus beagán cleachtais, is féidir leat dearaí ingne cáilíochta salon a chruthú sa bhaile nó i suíomh gairmiúil i gcodán den am a thógfadh dearadh láimhe.
Conas a Oibríonn Ealaín Ingne Airbrush i ndáiríre
De ghnáth péireálann córas ingne airbrush a gunna airbrush dé-ghníomhaíochta le comhbhrúiteoir aeir beag, ciúin. Brúann an comhbhrúiteoir sruth seasta aeir tríd an scuab aeir, agus rialaíonn an truicear sreabhadh aeir agus scaoileadh péint ag an am céanna. Is é an dé-rialú seo a fhágann gur féidir grádáin agus mionsonraí míne - scaoileann brú éadrom ceo mín, agus méadaíonn brú breise ar an méid péint le haghaidh clúdach níos dána.
Toisc go bhfuil an phéint briste ina braoiníní micreascópacha sula dtéann sí i dteagmháil leis an ingne, tá clúdach i bhfad níos cothroime ná feidhmchlár scuab , agus níl aon uigeacht scuab-stróc infheicthe. Is iondúil go n-oibríonn teicneoirí le stionsail, le leideanna Francacha, nó le scáthú saorláimhe chun dath a mhéadú, ansin críochnaíonn siad le cóta barr le haghaidh lonraíochta agus marthanachta.
Príomh-Chomhpháirteanna de Shocrú Scuab Aeir Ingne
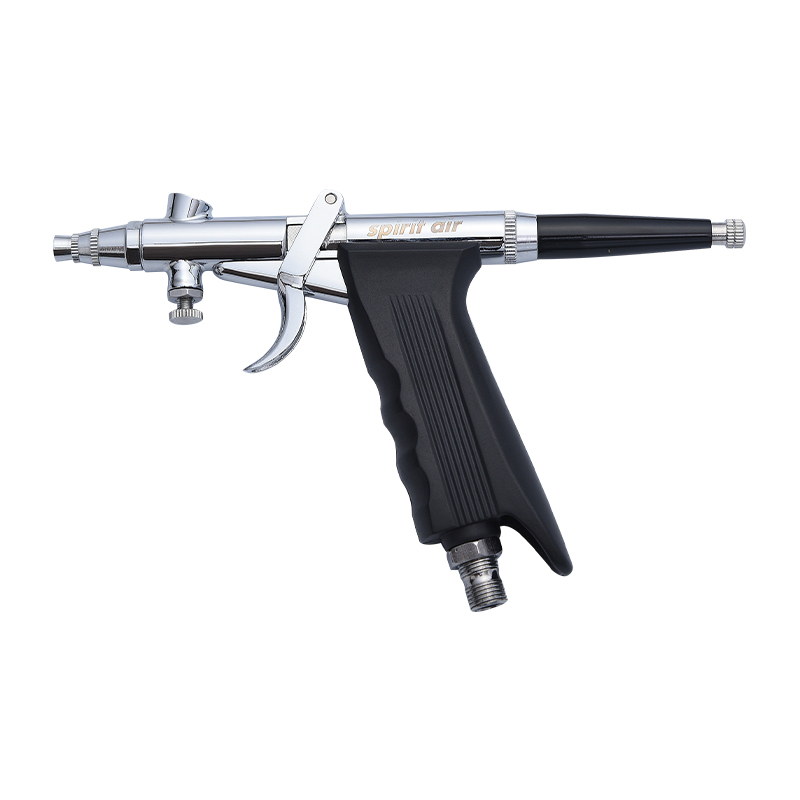
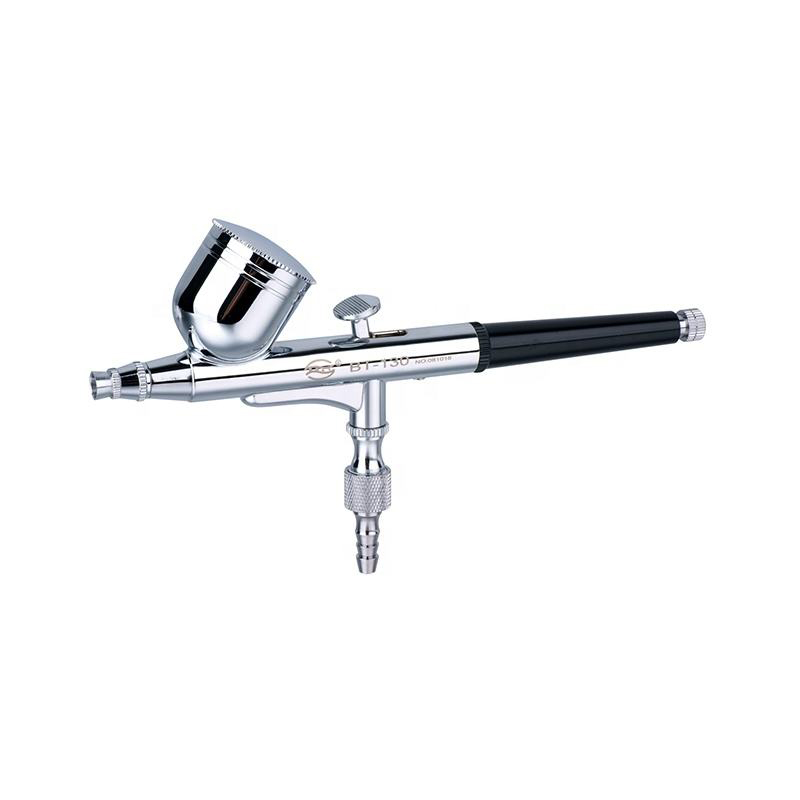
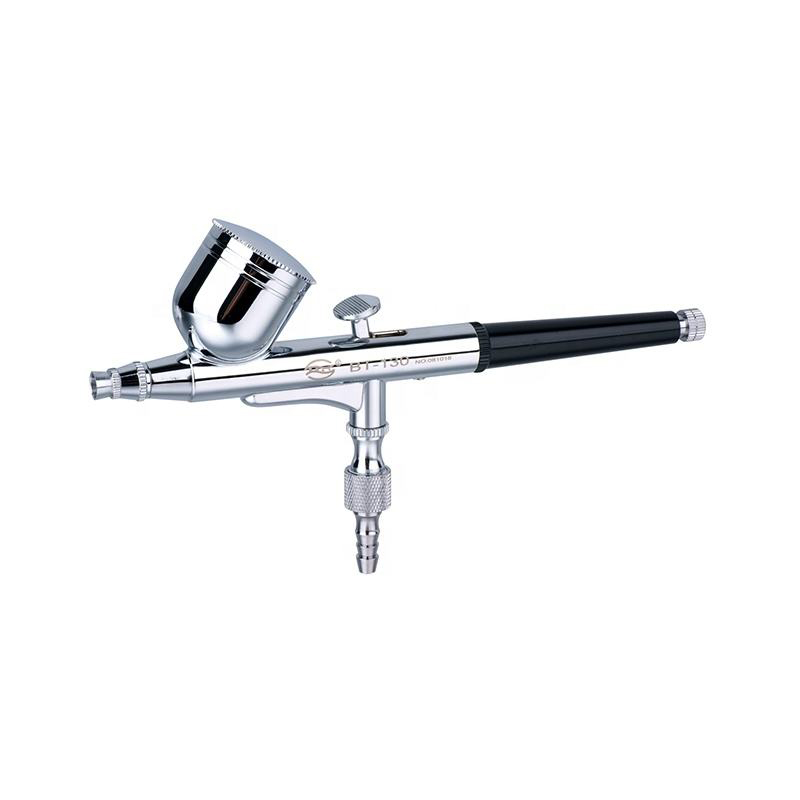
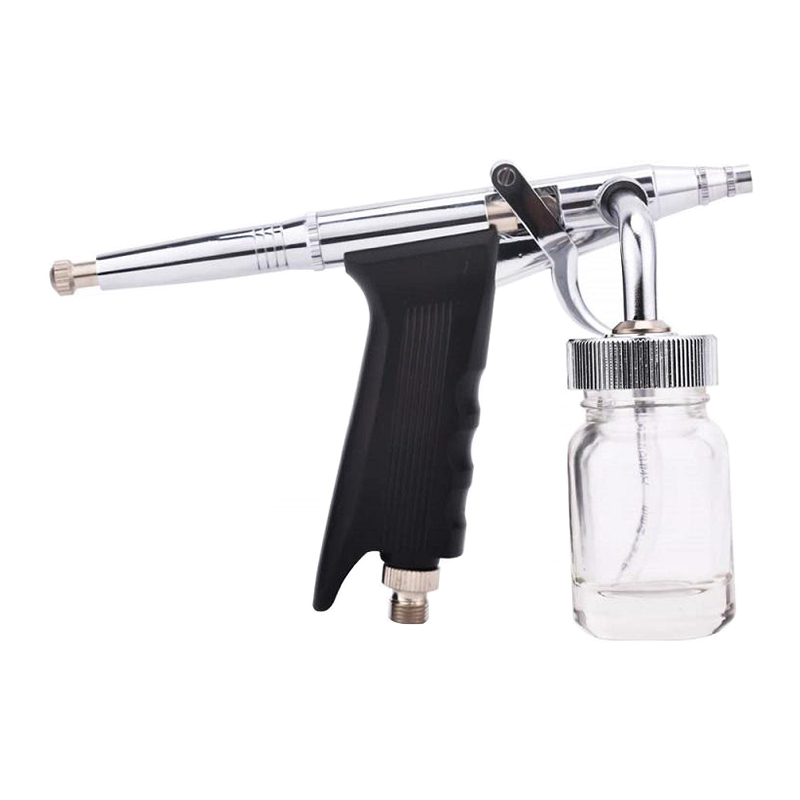
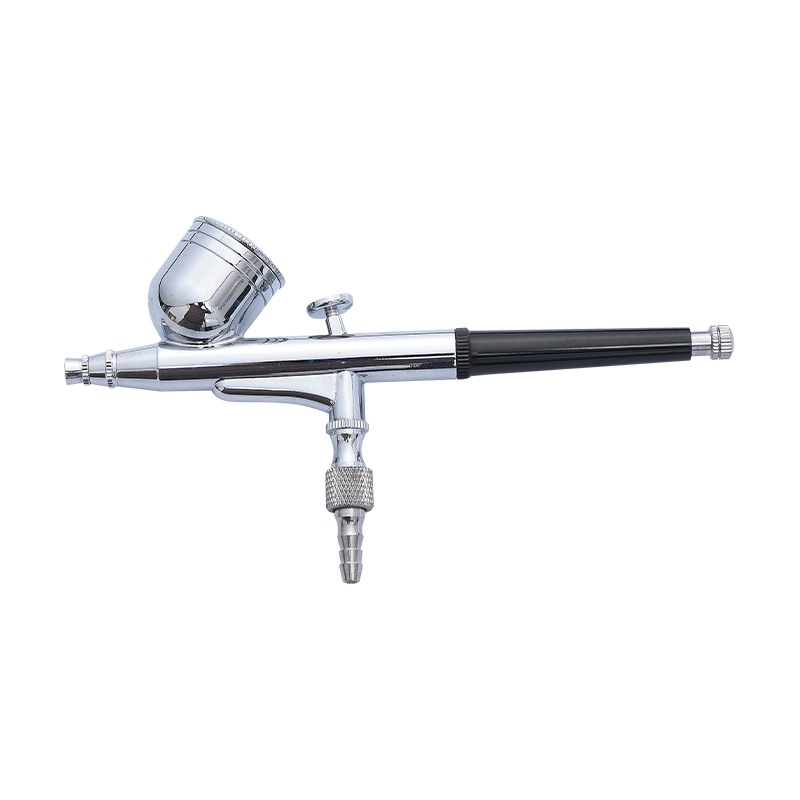
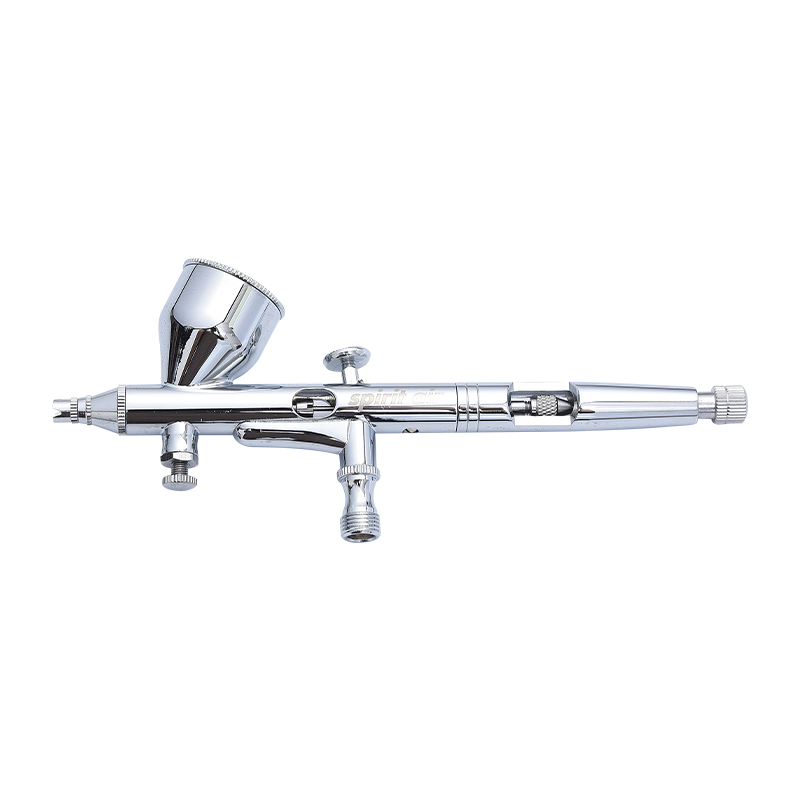
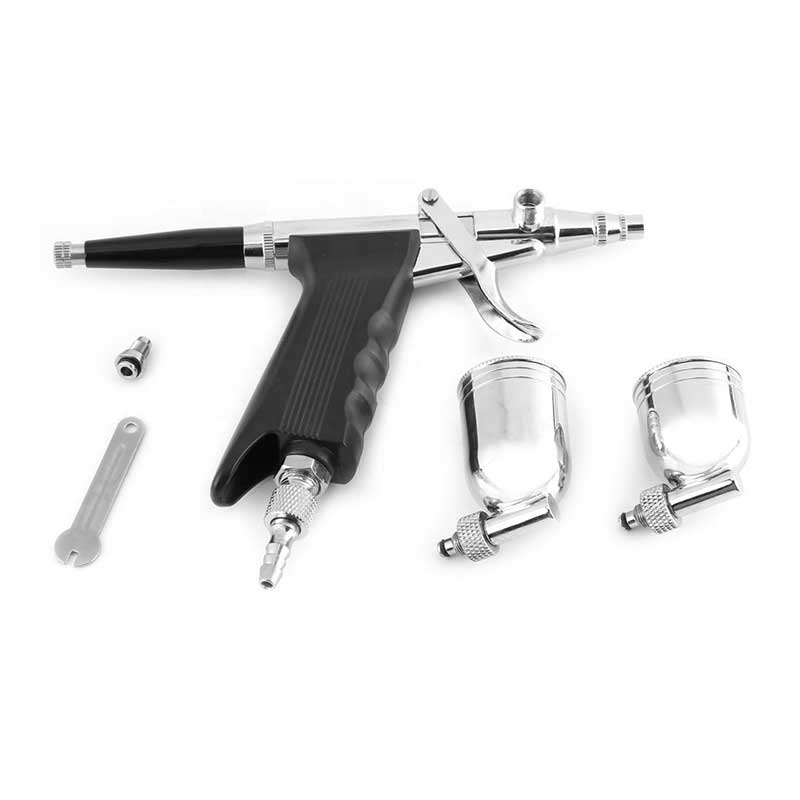
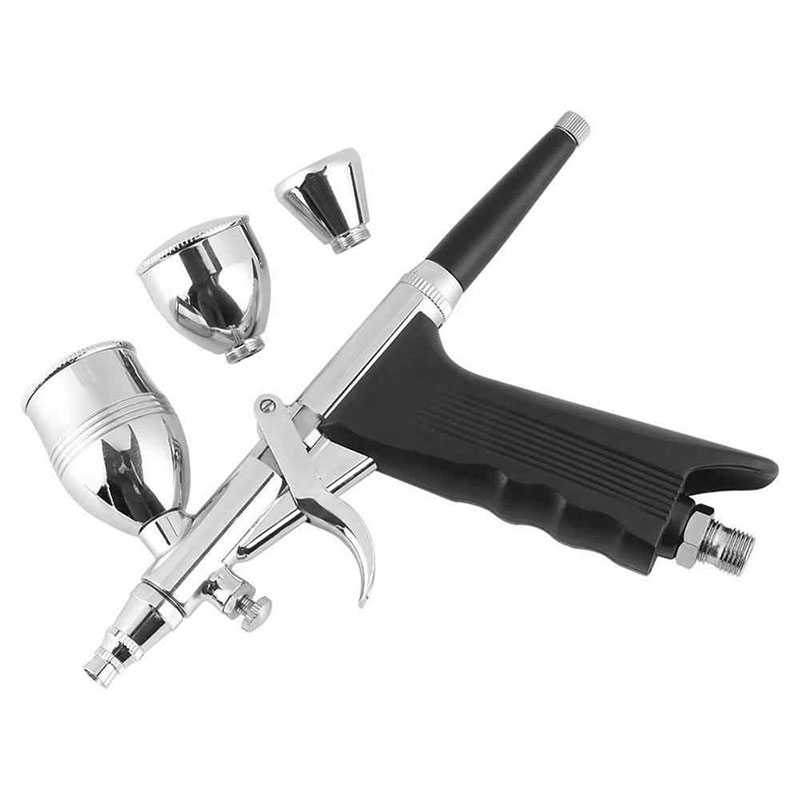
- Gunna beachtas scuab aeir le soc 0.2–0.3mm le haghaidh mionsonra oibre
- Comhbhrúiteoir aeir dlúth, íseal-torainn le haschur brú cobhsaí
- Péint ingne airbrush uiscebhunaithe nó alcólbhunaithe arna fhoirmiú le haghaidh greamaitheachta
- Stionsail ingne ath-inúsáidte nó leatháin chumhdaigh vinile le haghaidh obair phatrúin
- Seastán nó sealbhóir méar chun lámha a choinneáil seasta le linn spraeáil
Cén Trealamh atá de Dhíth Agat Chun Tosaigh?
Sula ndéantar tairní a phéinteáil le scuab aeir, cabhraíonn sé le tuiscint a fháil ar na huirlisí atá riachtanach i gcomparáid le roghnach. Déanann an tábla thíos miondealú ar an trealamh lárnach is mó a bhíonn ag brath ar thosaitheoirí agus ar ghairmithe.
| Trealamh | Cuspóir | Tosaíocht do Thosaitheoirí |
|---|---|---|
| Gunna airbrush dé-ghníomhaíochta | Rialaíonn sé ceo mín agus toirt péinte ag an am céanna | Riachtanach |
| Mini comhbhrúiteoir aeir | Soláthraíonn sé sruth aeir cobhsaí, saor ó chuisle chuig an gunna | Riachtanach |
| Péint scuabtha aeir a bhaineann go sonrach le tairní | Le chéile chun banna leis an pláta ingne agus leigheas go tapa | Riachtanach |
| Bileoga stionsail | Cruthaíonn patrúin in-athdhéanta gan scil saorláimhe | Molta |
| Glanadh réiteach | Cosc ar clogáil nozzle idir dathanna | Riachtanach |
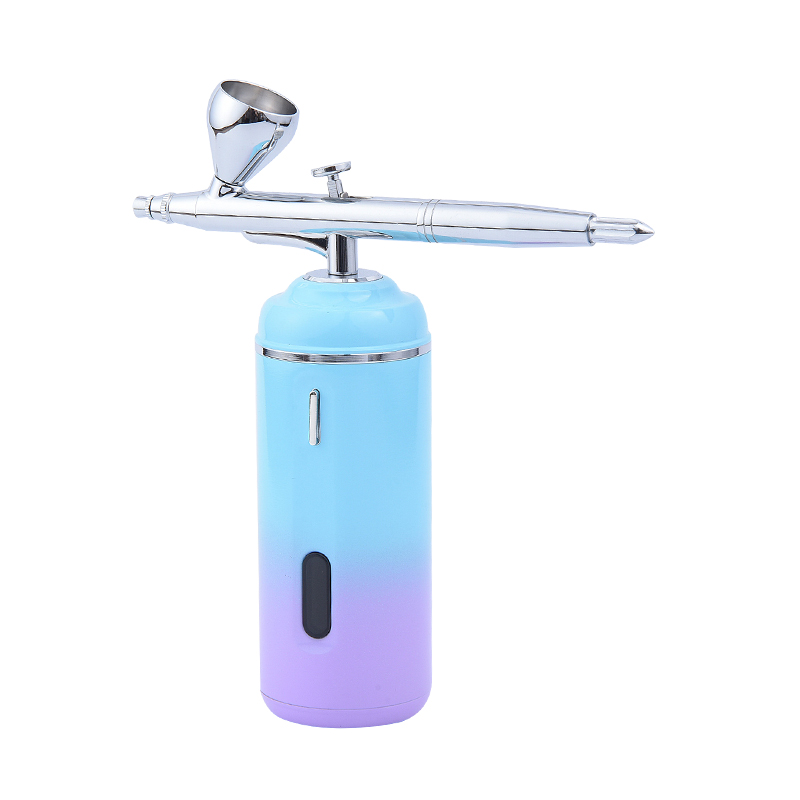
Anois cuireann go leor feisteáin uile-i-amháin an gunna, an comhbhrúiteoir, an tacar péinte agus na stionsail le chéile, agus sin an fáth Airbrush ingne Art feisteáin tar éis éirí mar phointe iontrála coitianta do lucht caitheamh aimsire agus úinéirí salon atá ag iarraidh an tseirbhís a chur leis gan páirteanna a fhoinsiú ar leithligh.
Céim ar Chéim: Conas Tairní a Phéinteáil le Scuab Aer
Cé go n-athraíonn an sreabhadh oibre cruinn de réir dearadh, leanann an chuid is mó de na seisiúin ingne airbrush seicheamh comhchosúil. Trí na céimeanna seo a leanúint in ord, cabhraíonn sé seo le smudging, dath míchothrom, agus soic clogged a chosc.
- Ullmhaigh an ingne le cóta bonn agus lig dó tirim go hiomlán chun dromchla péintéireachta mín a chruthú.
- Líon an cupán airbrush le méid beag péint ingne-sonrach agus tástáil an spraeála ar tuáille páipéir ar dtús.
- Coinnigh an airbrush 4-6 cm as an ingne agus iarratas a dhéanamh solas, fiú Gabhann a thógáil grádán bonn.
- Cuir an dara nó an tríú dath isteach i sraitheanna, ag obair ó shades níos éadroime go dorcha le haghaidh doimhneacht.
- Cuir stionsail thar an mbunchiseal triomaithe chun patrúin míne a chur leis, ansin bain go cúramach nuair a bhíonn an dath socraithe.
- Séalaigh an dearadh le cóta barr snasta nó neamhlonrach chun dath a ghlasáil agus chun lonradh a chur leis.
Idir dathanna, tá sé tábhachtach an airbrush a shruthlú go hachomair le níos glaine - Is é gan bacadh leis an gcéim seo an chúis aonair is coitianta a bhaineann le soic clogged agus meascadh dathanna láibeacha i measc tosaitheoirí.
Airbrush vs Ealaín Ingne Lámhphéinteáilte: Príomhdhifríochtaí
Cuidíonn tuiscint ar an gcomparáid le haerbrushing le húsáid scuab traidisiúnta a mhíniú cén fáth a bhfuil an oiread sin gairmithe ingne á gcur lena roghchlár seirbhíse.
| Fachtóir | Teicníc Airbrush | Teicníc Lámhphéinteáilte |
|---|---|---|
| Luas iarratais | Níos tapúla, go háirithe le haghaidh tacair iomlána | Níos moille, scuab-stróc le scuab-stróc |
| Go réidh grádán | Cumasc nádúrtha gan uaim | Teastaíonn scil chumasc agus uirlisí spúinse |
| Mionsonraí (líne ealaíne) | Is féidir le stionsail, saorláimhe níos deacra | Níos éasca le scuab mionsonrach |
| Cuar foghlama | Measartha, éilíonn cleachtas le rialú brú | Níos ísle do dearaí bunúsacha |
| Trealamh needed | Gunna airbrush agus comhbhrúiteoir ag teastáil | Scuaba agus snas amháin |
Ní thagann ceachtar den dá mhodh go hiomlán in ionad an mhodha eile - úsáideann go leor salons airbrushing do bhunghrádáin agus lámhphéinteáil le haghaidh obair líne mhín , an dá theicníc a chomhcheangal ar an sraith céanna tairní.
Coitianta Airbrush ingne Art Éifeachtaí Is Féidir Leat a Chruthú
Ceann de na cúiseanna is mó a bhfuil an t-aerbrushing gafa air ná raon na n-éifeachtaí is féidir a bhaint amach gan ardscil péintéireachta láimhe. I measc cuid de na stíleanna is mó a iarrtar tá:
- Grádáin Ombre — aistrithe mín datha ón gcuitín go dtí an barr
- Scáthú leideanna na Fraince - leideanna bog-imeall gan líne chrua péinteáilte
- Éifeachtaí marmaraithe nó deataigh — ceocháin datha cisealta a dhéanann aithris ar phatrúin chloiche nádúrtha
- Bláthanna stionsal agus cruthanna geoiméadracha — patrúin in-athdhéanta ag úsáid leatháin chumhdaigh
- Chrome agus variant miotalach — leagan ceo mín le haghaidh sceal mhiotalach a bhfuil fócas bog aige
Leideanna do Thosaitheoirí Ag Bain triail as Ealaín Ingne Airbrush don Chéad Uair
Is gnách go mbíonn roinnt nósanna praiticiúla seachas trealamh costasach ag baint le céad taithí réidh le healaín ingne airbrush.
Cleachtaigh ar Chairt Ingne Páipéir ar dtús
Sula ndéantar tairní beo a spraeáil, cleachtaigh rialú brú ar roth ingne clóite nó leideanna ingne páipéir. Cothaíonn sé seo cuimhne matán maidir le cé chomh fada agus is féidir an gunna a choinneáil agus cé mhéad brú truicear a tháirgeann ceo mín i gcoinne cóta níos troime.
Coinnigh Brú Comhbhrúite Comhsheasmhach
Tá brú aeir míchothrom ar cheann de na cúiseanna is coitianta a bhaineann le dath splotchy , mar sin cuidíonn comhbhrúiteoir le rialtóir ionsuite agus umar aeir beag le spraeáil seasta, saor ó chuisle a choinneáil ó thús go deireadh.
Glan an Airbrush Idir Gach Dath
Triomaíonn péint ingne go tapa, agus tá sé deacair lí triomaithe taobh istigh den nozzle a bhaint nuair a bhíonn sé cruaite. Coinníonn sruthlú tapa le réiteach glantacháin idir dathanna na línte briosc agus cuireann sé cosc ar mheascadh dathanna nach dteastaíonn.
An bhfuil Airbrush Ingne Art Fiú é do Salons agus Díograiseoirí?
Do theicneoirí ingne, is féidir an t-am a theastaíonn le haghaidh dearaí grádáin agus ombré a ghiorrú trí airbrushing a chur le roghchlár seirbhíse, rud a fhágann gur féidir freastal ar níos mó cliant in aghaidh an lae gan cáilíocht amhairc an chríochnaithe a íobairt. Do dhíograiseoirí sa bhaile, cuireann feisteán dlúth scuaba aeir bealach ar fáil chun grádáin agus patrúin i stíl salon a mhacasamhlú gan scileanna péintéireachta saorláimhe chun cinn a bheith ag teastáil uathu.
Mar mhonaróir le níos mó ná 15 bliain de thaithí ag táirgeadh airbrushes, comhbhrúiteoirí, agus feisteáin airbrush le haghaidh ealaín ingne, áilleacht, agus feidhmeanna dearadh cruthaitheach, NINGBO BOLT INNEALRA LEICTREONACH & CO TEICNEOLAÍOCHTA, TEO. dearadh trealamh ar nós a chóras Airbrush Ingne Art le soic mín 0.2-0.3mm agus comhbhrúiteoirí ísealtorainn cobhsaí, atá dírithe ar rialú spraeála iontaofa comhsheasmhach a thabhairt do ghairmithe agus caitheamh aimsire do ghrádáin, patrúin stionsalaithe, agus dearaí mionsonraithe ingne.
Cibé an éifeachtúlacht salon gairmiúil nó saoirse chruthaitheach sa bhaile é an sprioc, tá sé cruthaithe gur bealach dlisteanach praiticiúil é an t-aerbrushing chun tairní a phéinteáil - ní treocht a rith, ach teicníocht a chomhlánaíonn obair scuab traidisiúnta agus a leathnaíonn an méid is féidir san ealaín ingne nua-aimseartha.